


Hi guys, Are you bored with daily submitting sitemap URLs in the Google search console? This is the place where you can learn how to automate this process.
In the early days of my blogging career, every day, I submitted my sitemap URL and inspected all URLs to the Google search console. This is a very boring thing and I wasted a lot of time on this process because I needed to add them individually.
I looked everywhere to find the answer to this. But I couldn’t find a place where all the steps were in order. After two weeks of researching, I figured out how to do this better. Then, I decided to share my knowledge with everyone. So everyone can make life easier with this process.
The Search Console API offers automated access to the most commonly used reports and functions in your Search Console account. It's like opening a secret backdoor to Google's search performance insights, allowing you to automate tasks and collect crucial information in a way that the web interface can't match. As an example we can manage our sitemaps , inspect our site URLs and retrieve analytics related to our web sites.
In this tutorial we are talking about three tools.
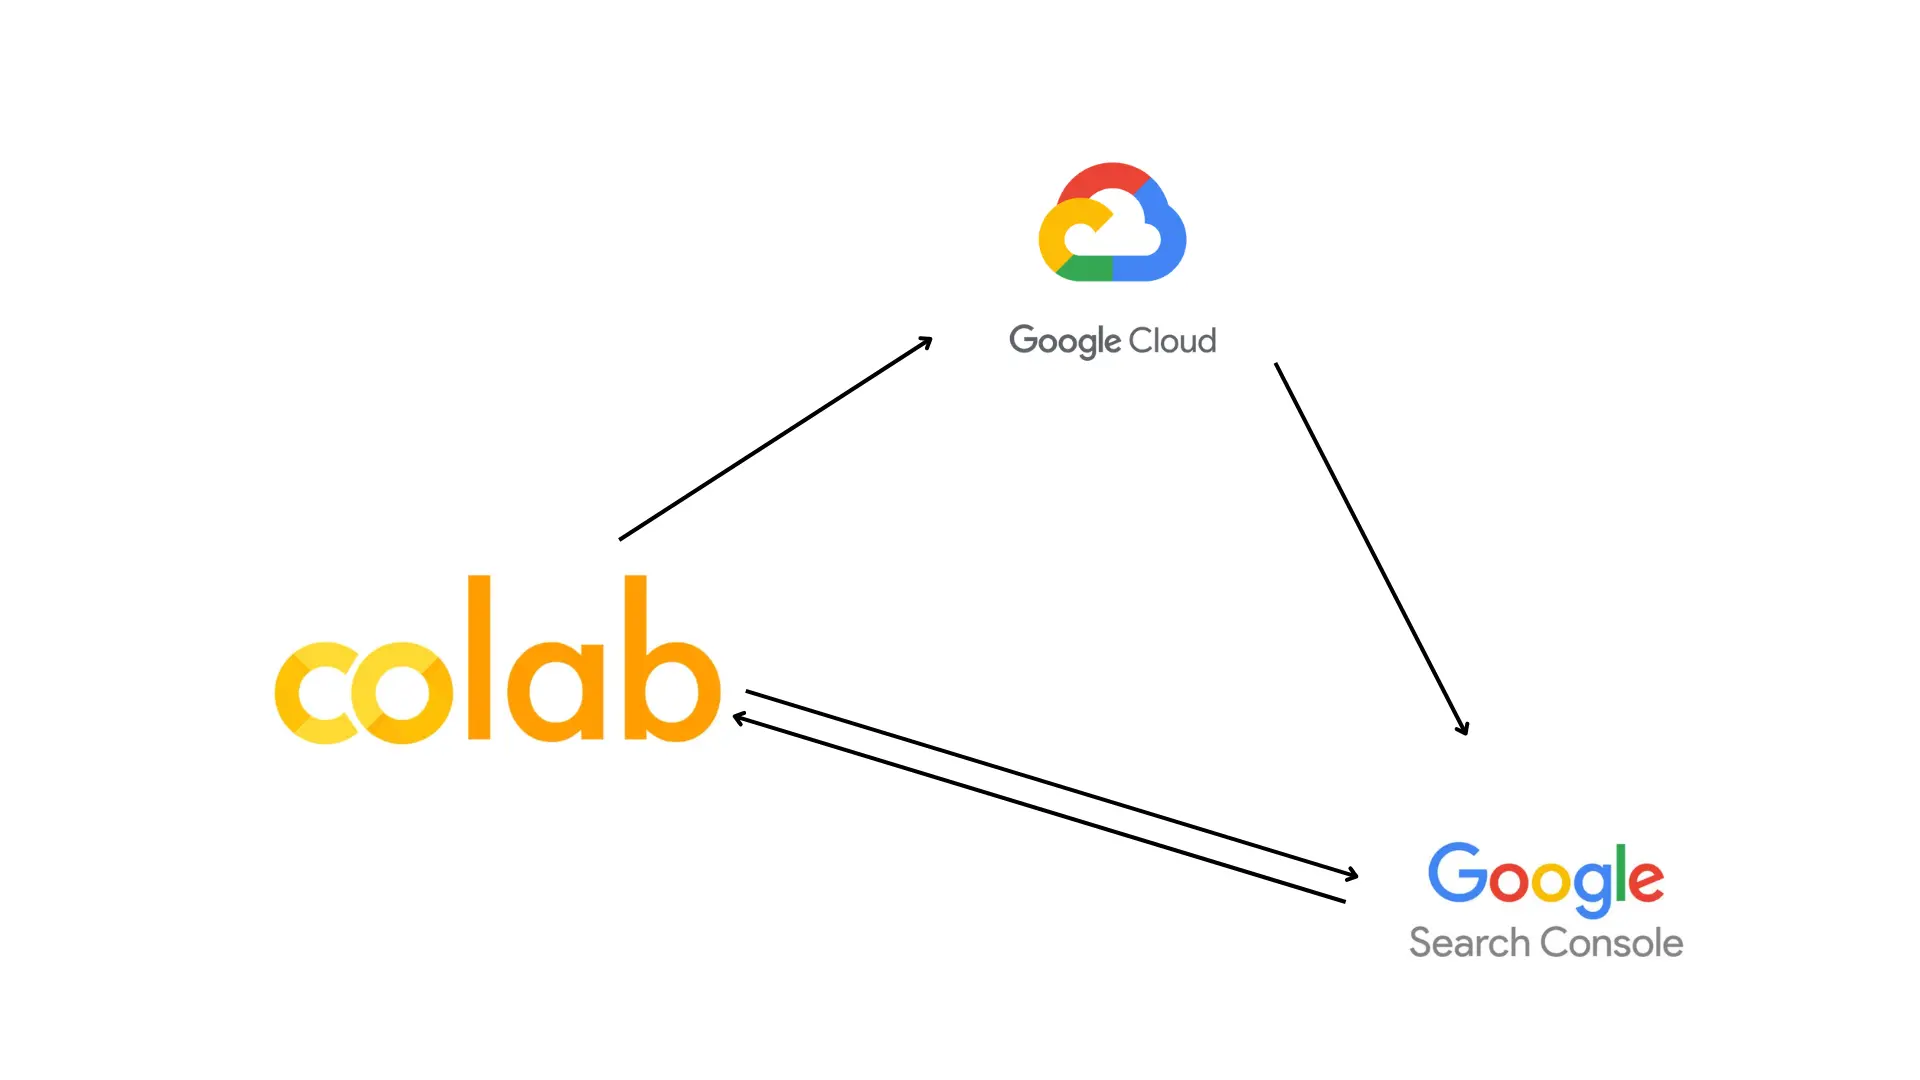
Here, we are using Google Colab to interact with Google Cloud to get our credentials done. Once that authorization is complete, we will use Google search console API to manage the data(Submit sitemaps, Inspect URLs).
Initially, you must create a Google Cloud Platform (GCP) account. To set up this account, you can utilize your email. I will guide you through the process step-by-step to access the Google Search Console API in Google Cloud.
Open your web browser and enter "Google Cloud Platform" in the search bar.
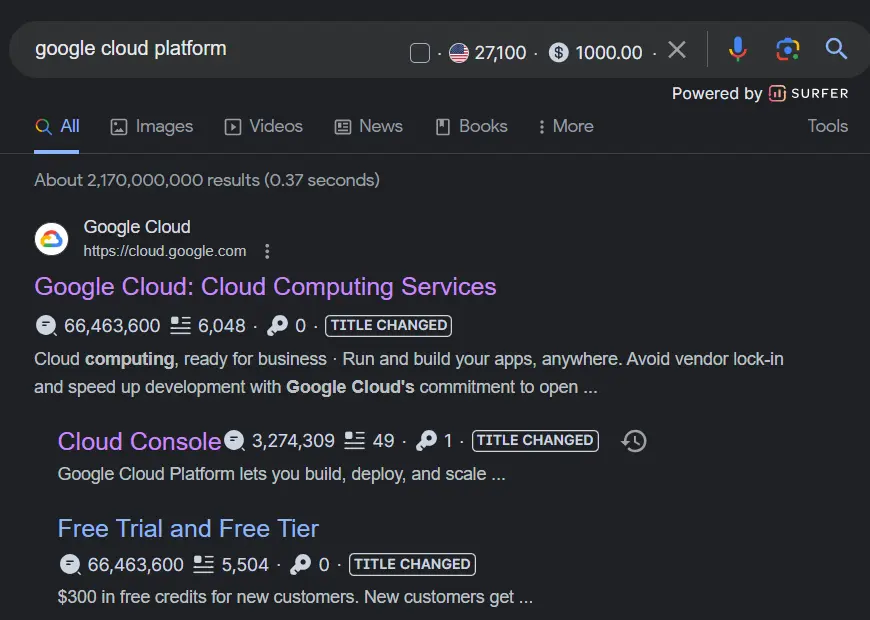
Locate and click the link "Google Cloud: Cloud Computing Services" Once on the page, find and click the "Console" button located on the right-hand side.

Click on the "Select project" dropdown button, then choose the "New project" option on the right-hand side.


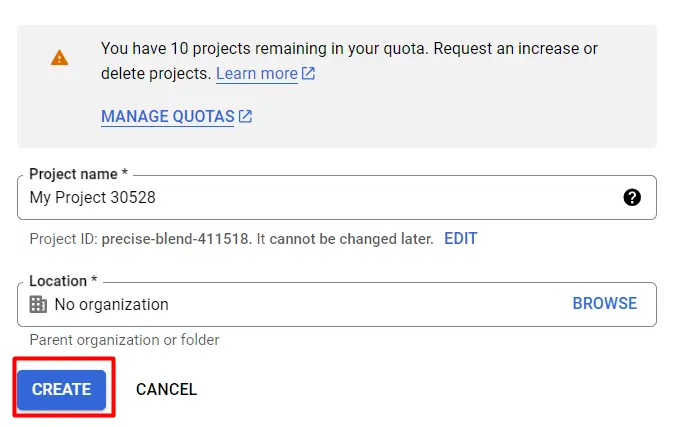
Fill in the required information for the Project name and Location fields. Subsequently, click the "Create" button.
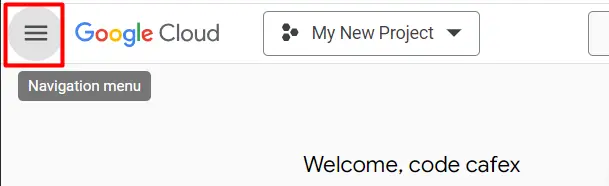
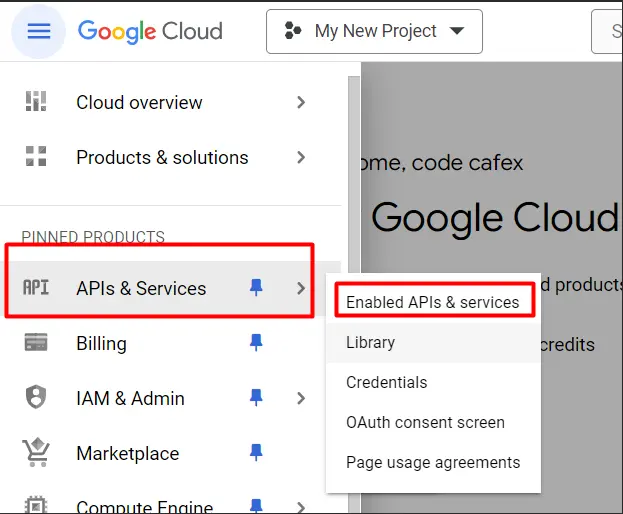
After the project creation, navigate to the "Navigation Menu" in the left corner. Click the "API services" button and select "Enabled API & services"
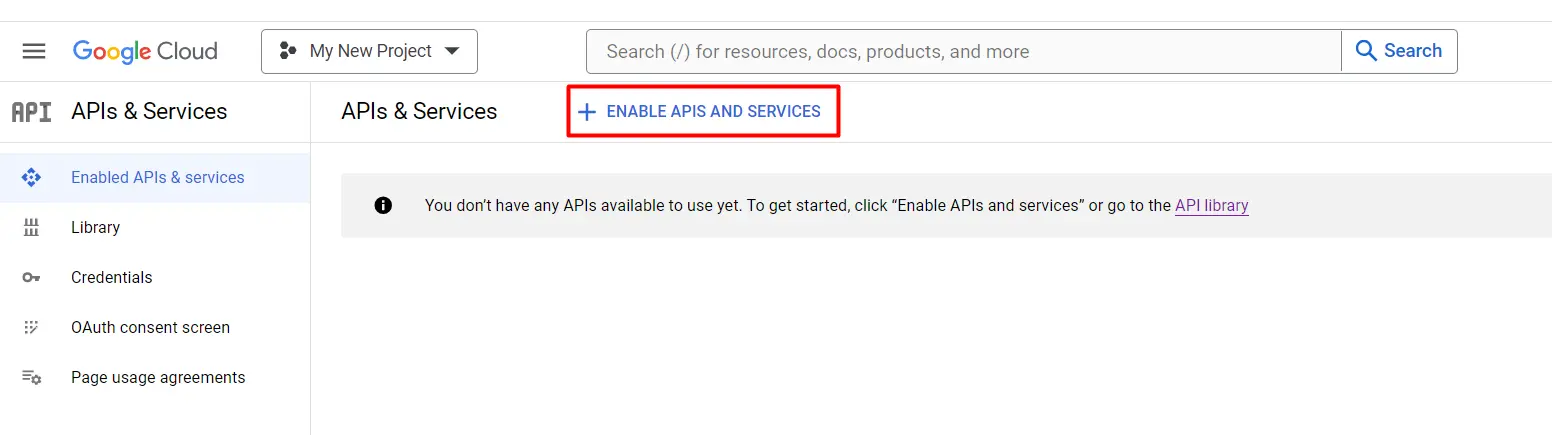
In the Enabled API & services section, click the "Enable APIs and Services" button, as shown in the screenshot.
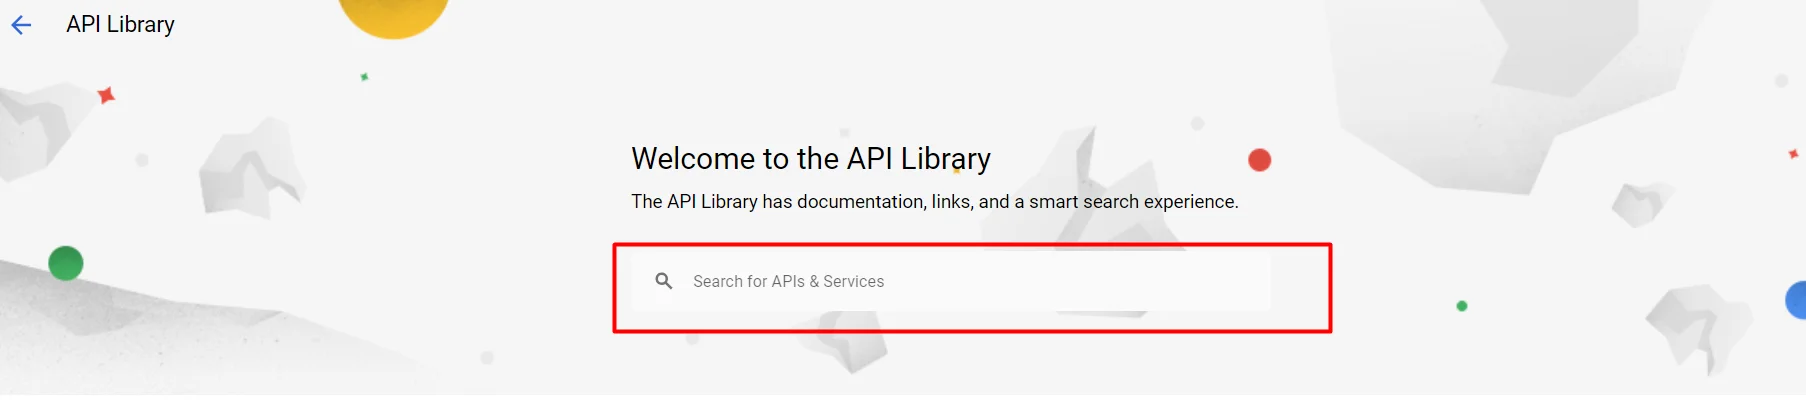
In the search bar, enter "Google Search Console API" and press Enter.
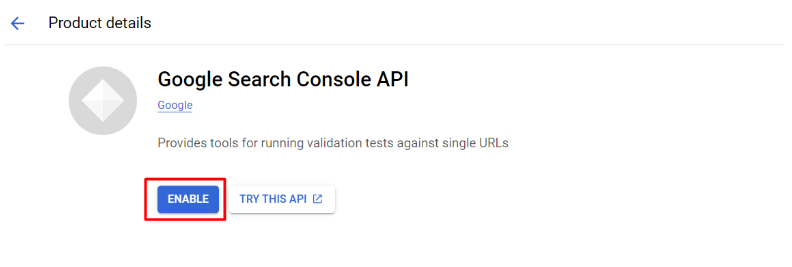
Then you can see results like this.
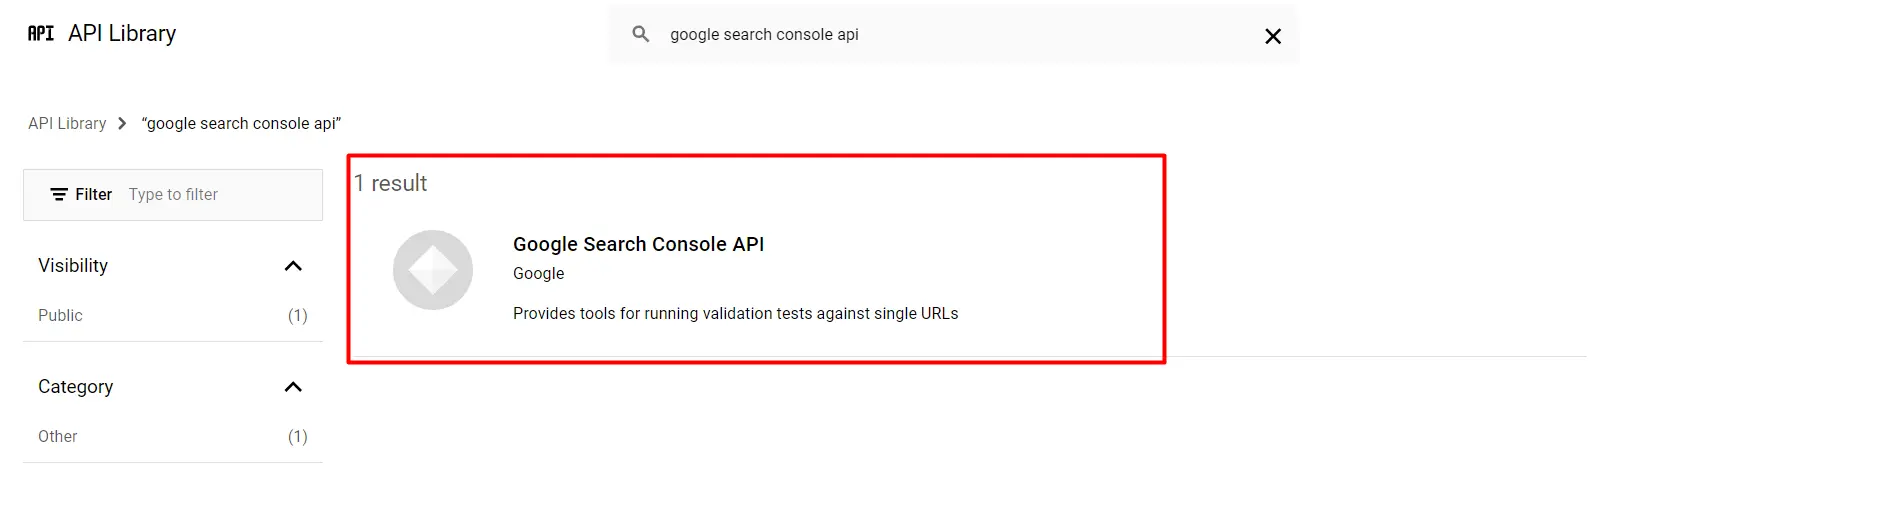
Click the relevant search result and the "ENABLE" button to activate the Google Search Console API.
Then you see a page like this.
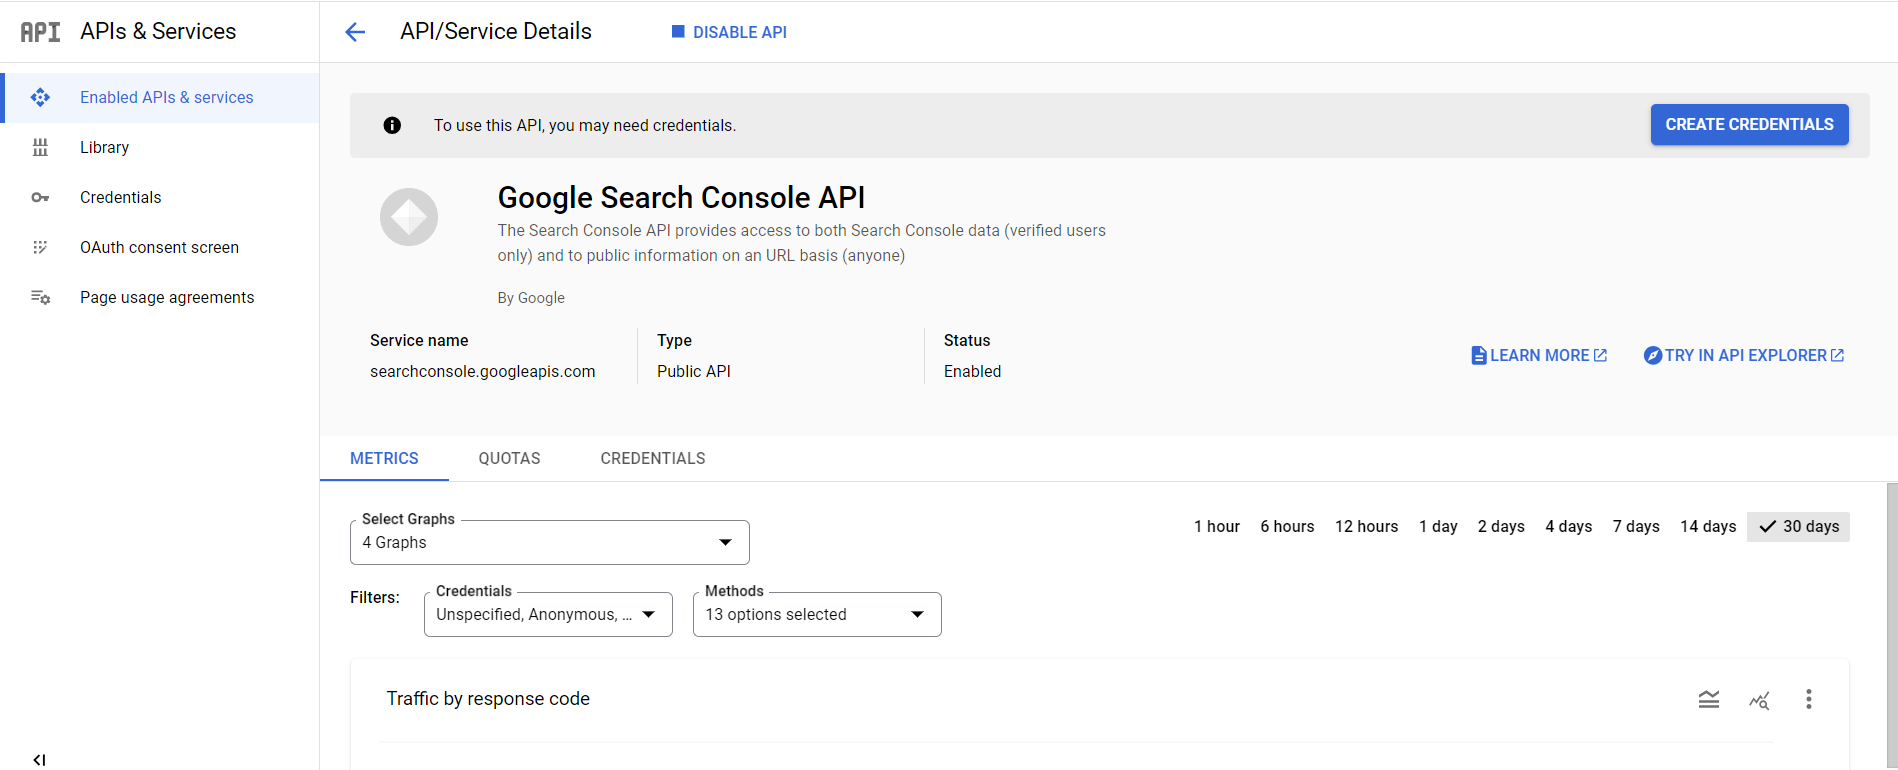
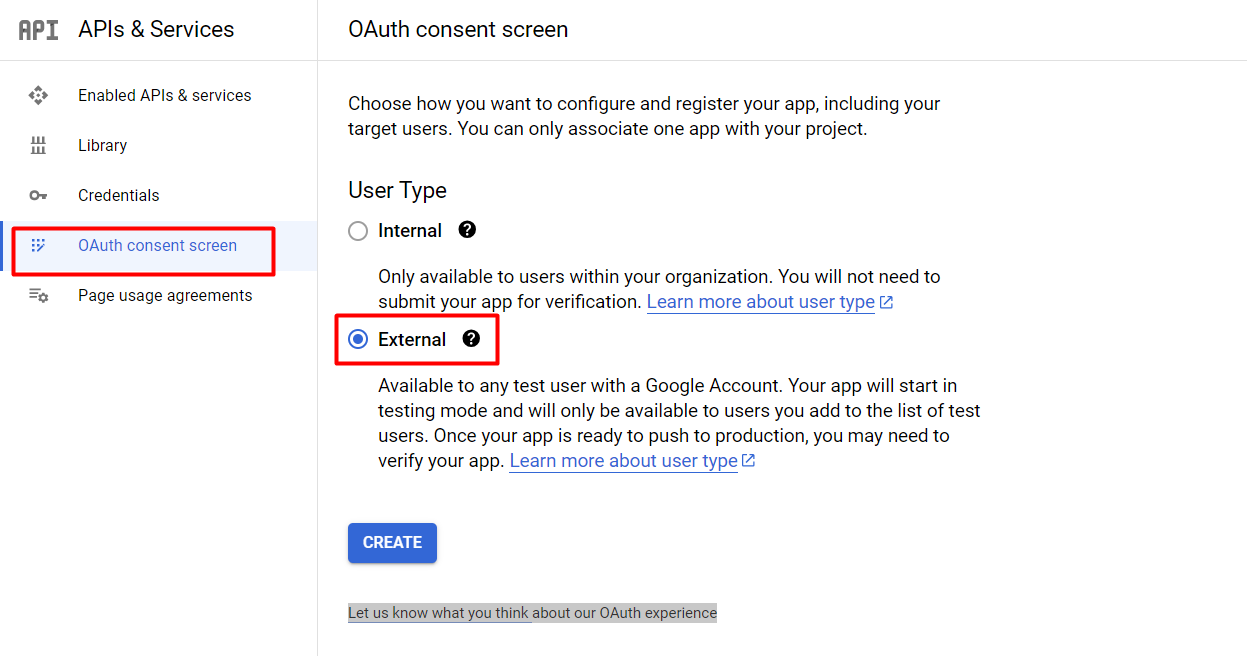
After enabling Google search console API then we need to go to the Oauth consent screen.To redirect that screen please click the “OAuth consent screen” option. After that choose the External option and click the create button.
The Google OAuth consent screen is an essential part of the OAuth 2.0 authorization process used by Google APIs.When a user tries to access a third-party application or service that requires permission to interact with their Google account data (such as Gmail, Google Drive, etc.), the OAuth consent screen is presented to the user. This consent screen serves several purposes:
It provides information about the third-party application or service, explaining what kind of access it requests and how it will use its Google account data.
It asks the user for explicit permission to allow the third-party application to access specific Google account information or perform certain actions on their behalf.
The consent screen reassures the user that they are granting access to their Google account to a legitimate and authorized application. Users should always check the details on this screen before giving access.
Developers can customize the appearance of the consent screen to match their application's branding, making it more recognizable and trustworthy to users.
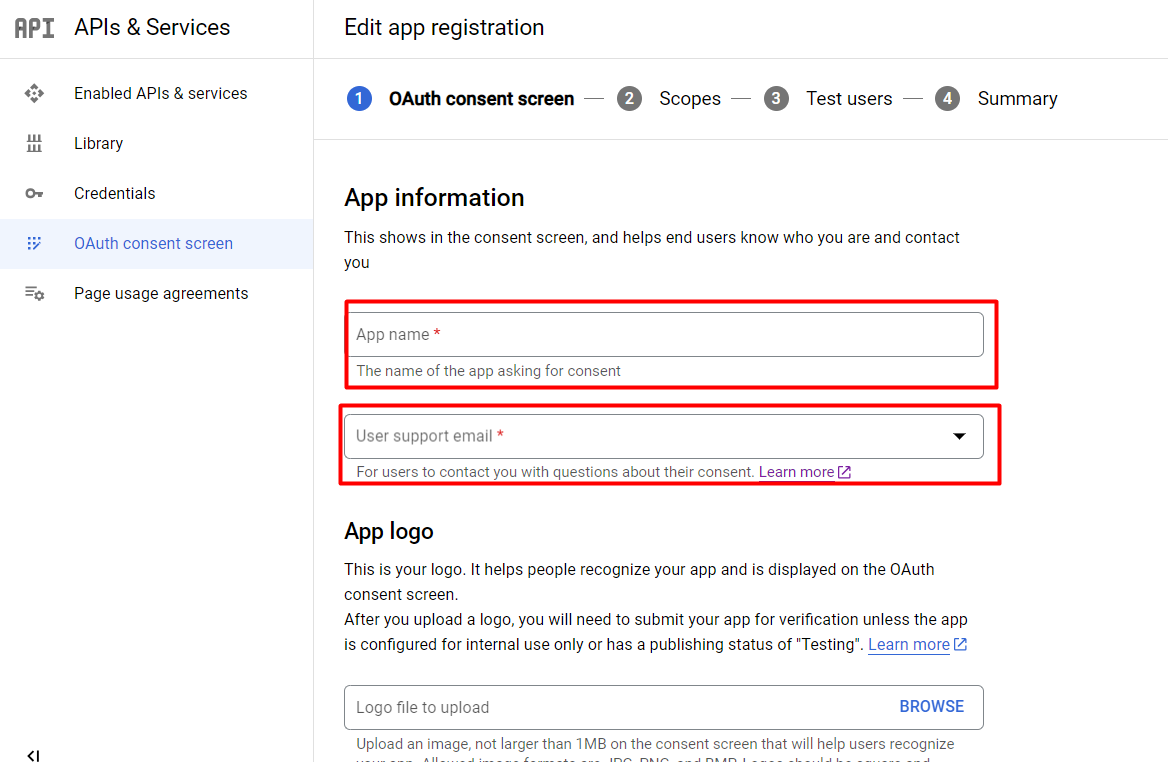
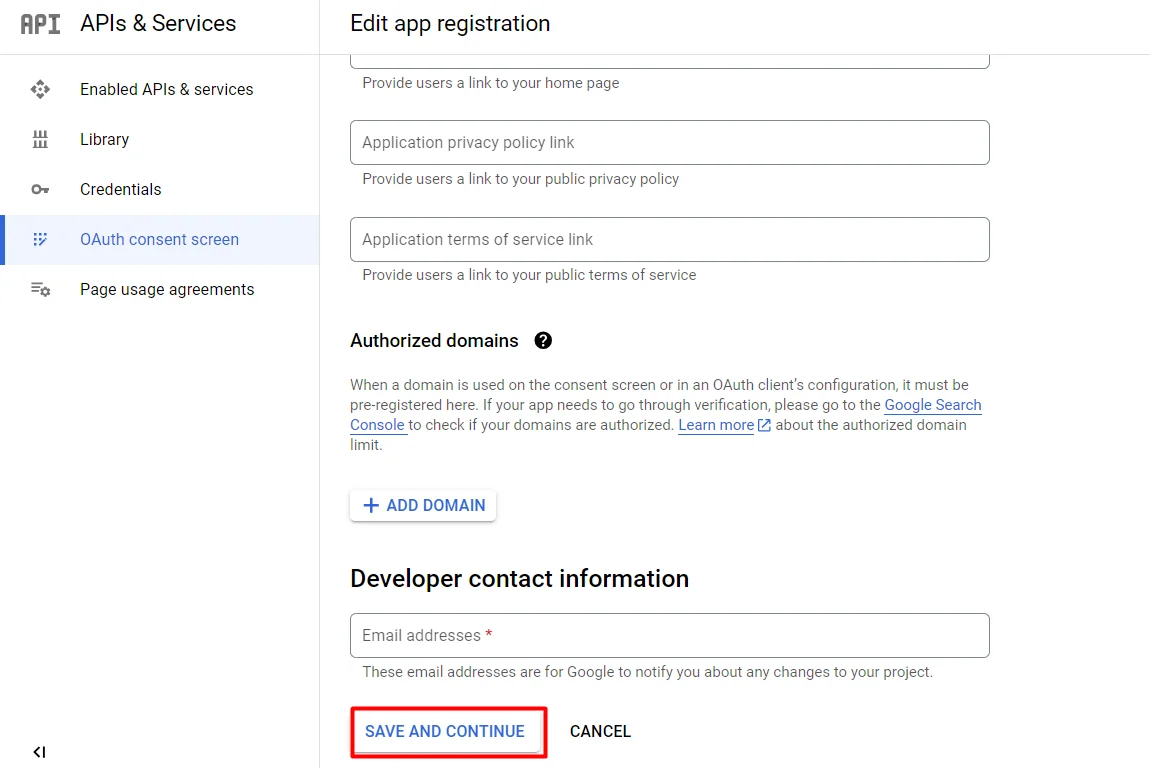
After this process Fill the App Information Details and click the “SAVE AND CONTINUE” button.
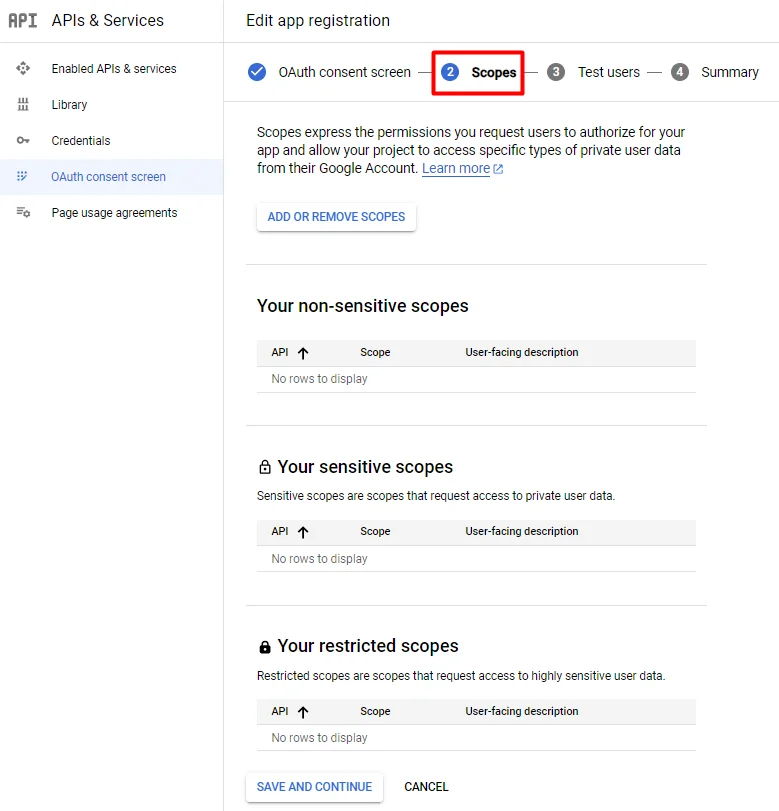
After this process, we need to Add scopes for our application.To add this click the “ADD OR REMOVE SCOPES” button.
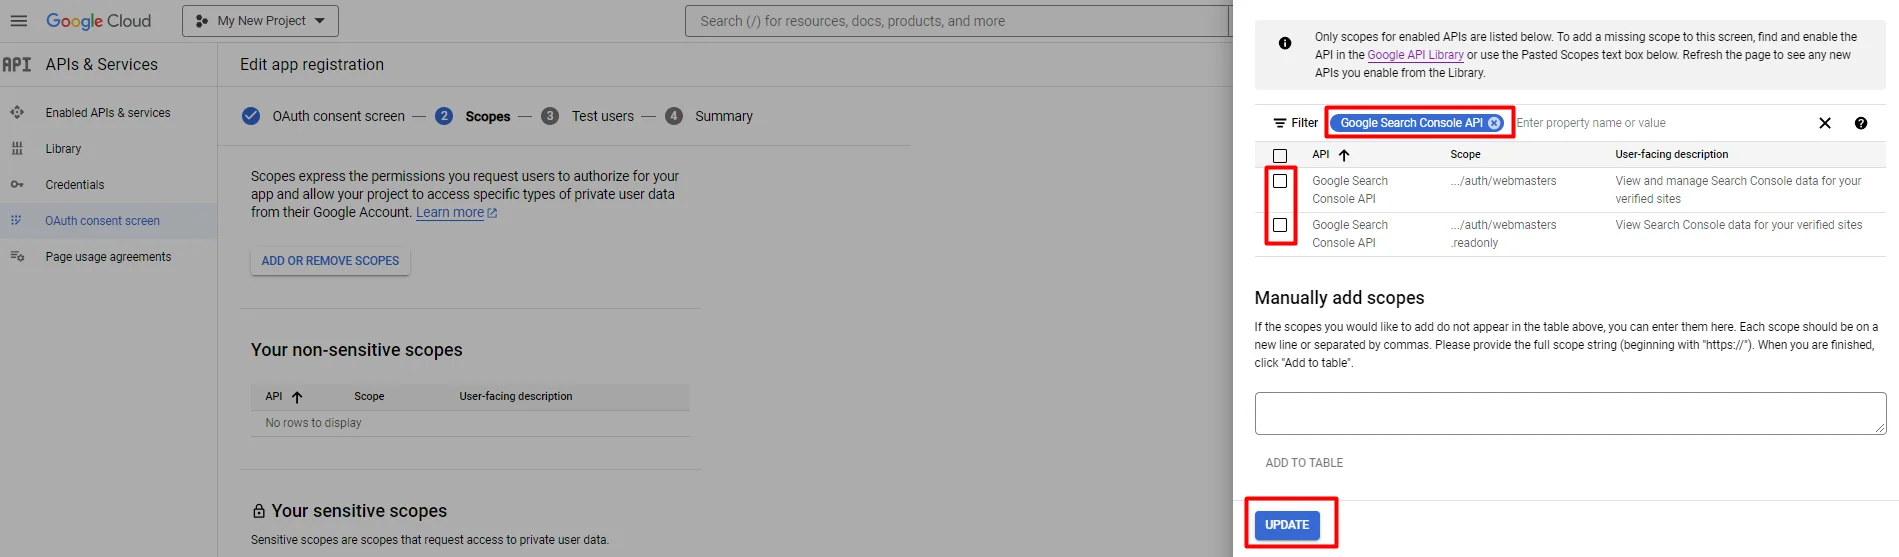
In the search bar, type "Google Search Console API" and press Enter. Review the permissions related to the Google Search Console API. Choose the desired permission and click the "UPDATE" button. After this, press the "SAVE AND CONTINUE" button at the bottom of the UI
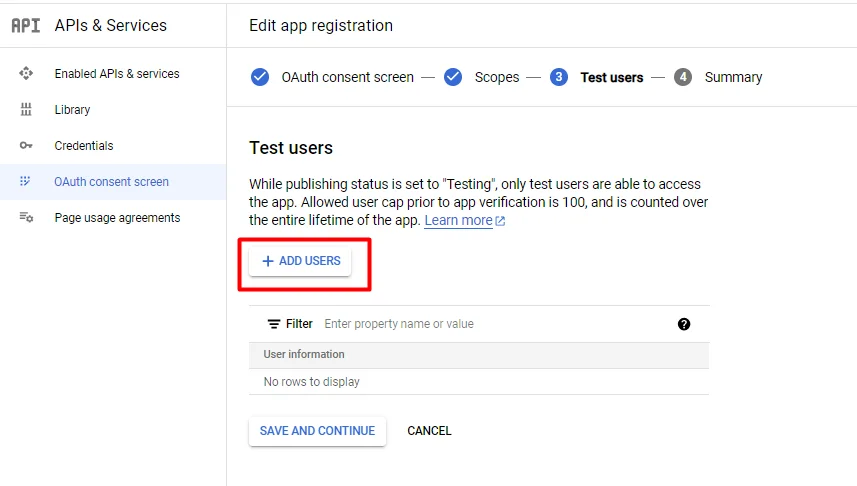
Once the scope setup is complete, adding test users is essential since the project has not yet been verified and is not open to the public. To do this, click the "ADD USERS" button.
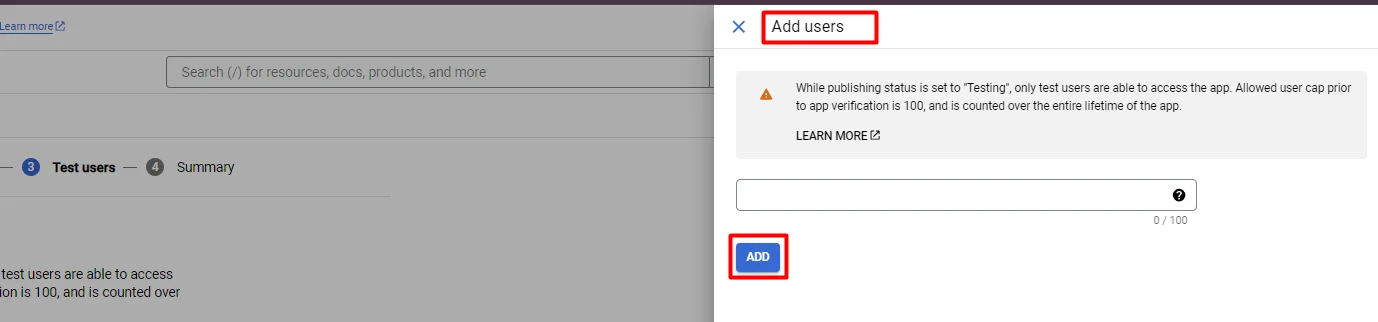
After configuring the OAuth consent screen:
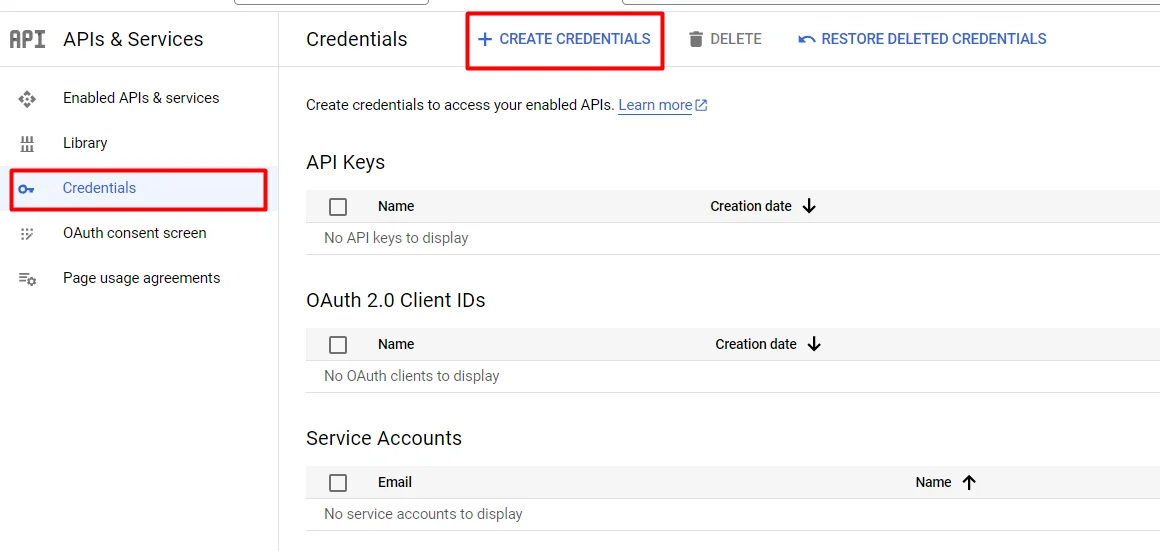
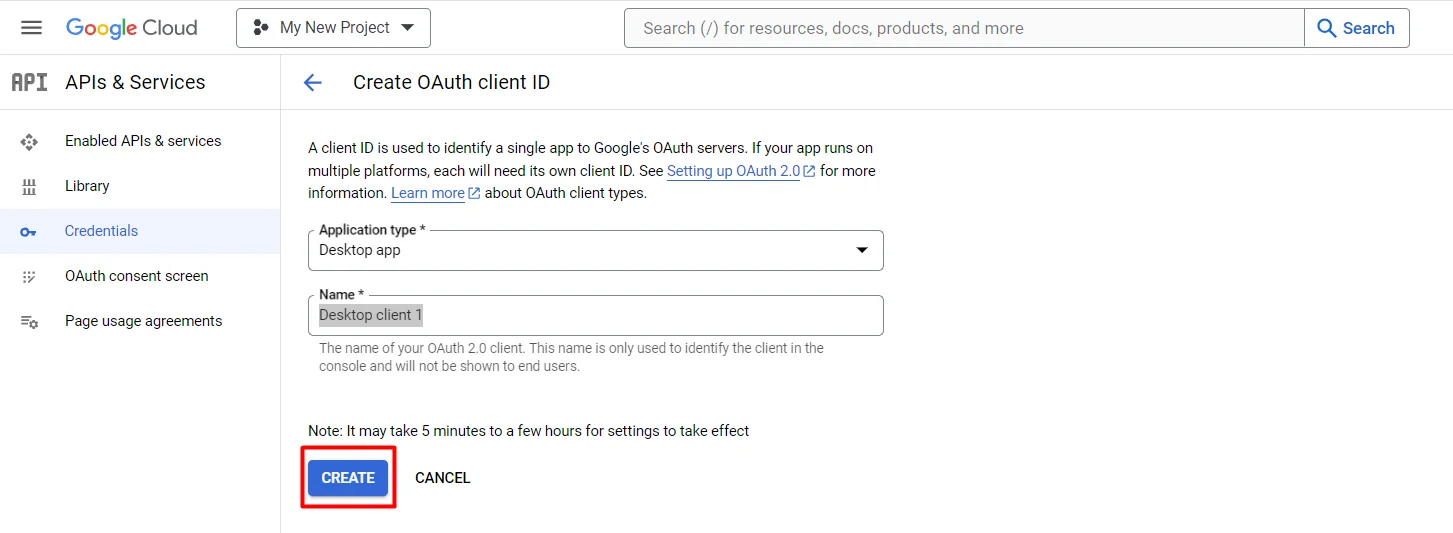
After that process, select the "OAuth Client ID" option. Choose "Desktop app" as the Application type, provide a name for client identification, and click the Create button.
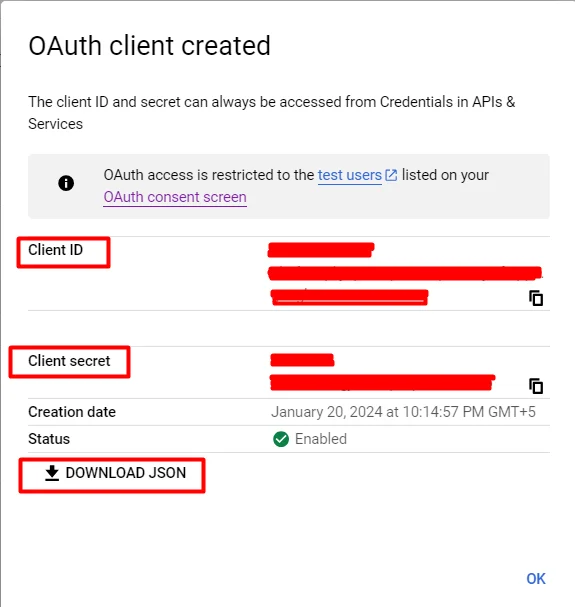
Finally, download the JSON file generated and store it securely.The Client ID and Client Secret from this file will be needed.
In the next tutorial, I'll discuss how to develop a Python script for submitting a sitemap URL and conducting URL inspection in Google Search Console.
© 2024 CodeCafeX ,Inc. All Rights Reserved


