


I developed this blog using Next.js because Next.js is a powerful tool for search engine optimization. During the deployment process, I needed to deploy this web application in the cloud. While searching for cloud solutions, I found that Vercel is a good tool for deploying Next.js applications. Vercel is a platform for developers that offers the workflows, tools, and infrastructure needed to build and deploy web applications faster, without any additional configuration.
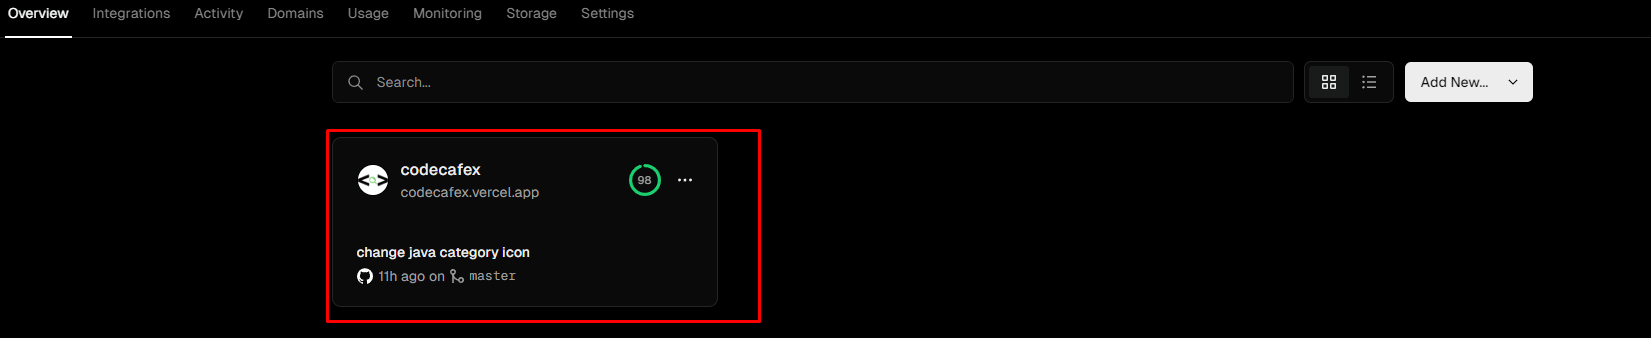
First you need to select the project from your dashboard.
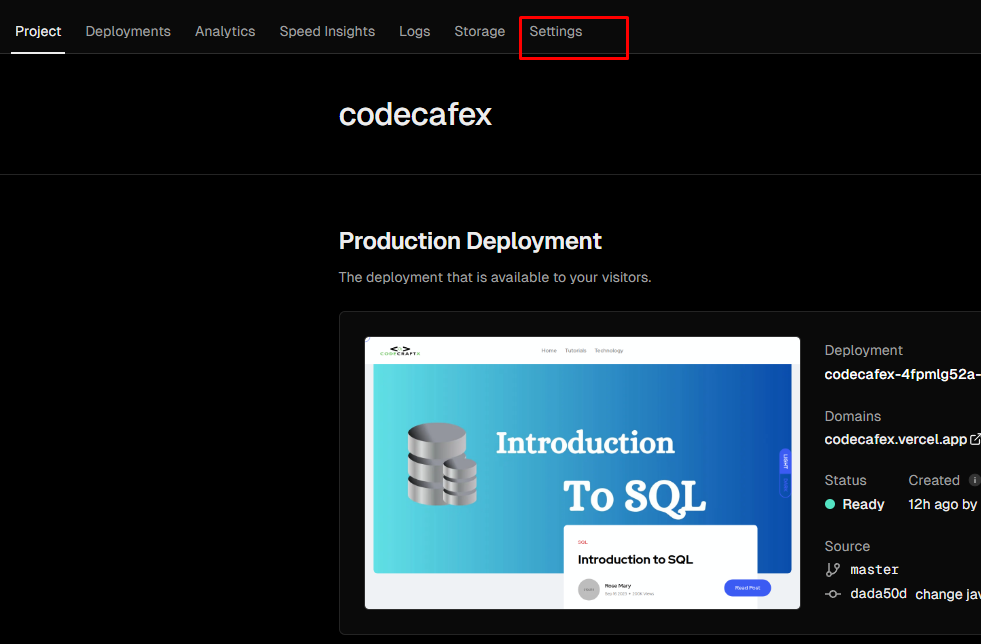
Then you need to redirect to the settings tab and need to select Domains tab.
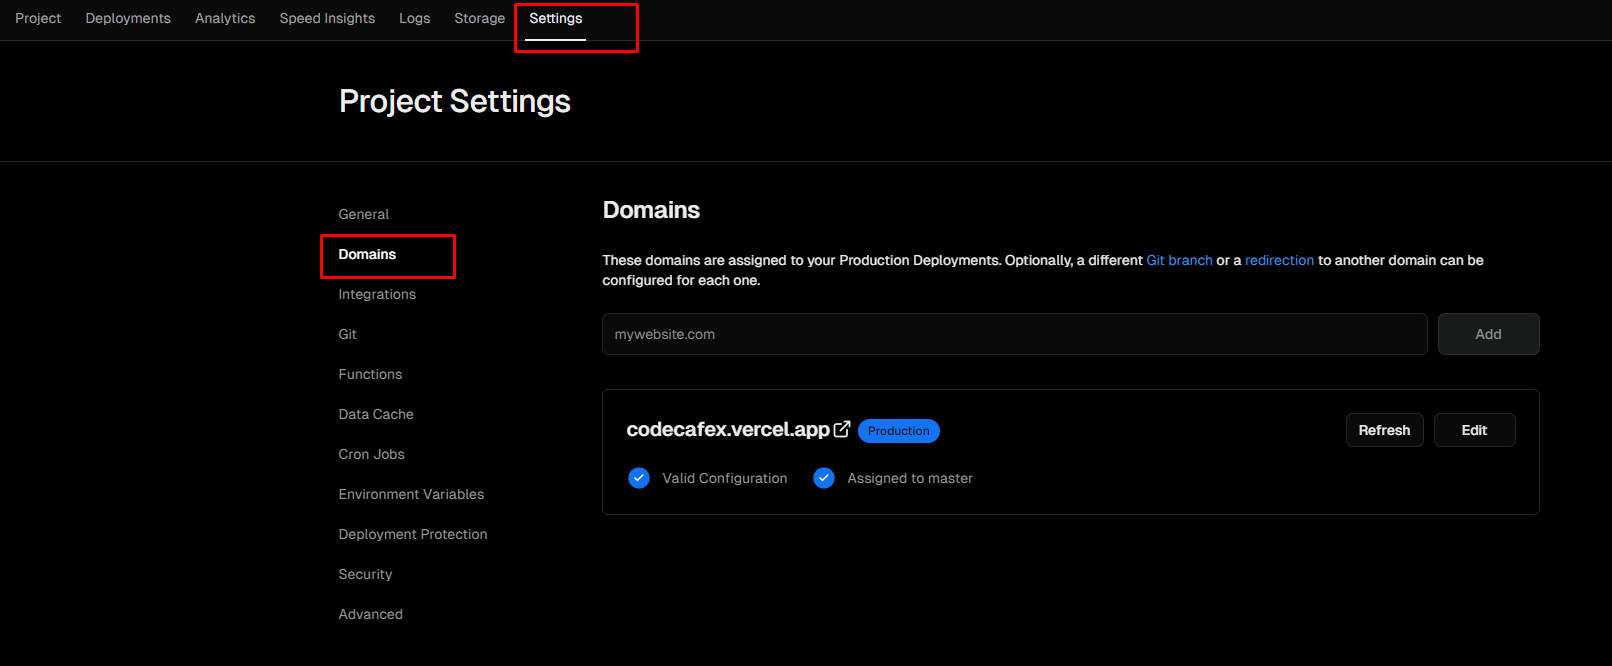
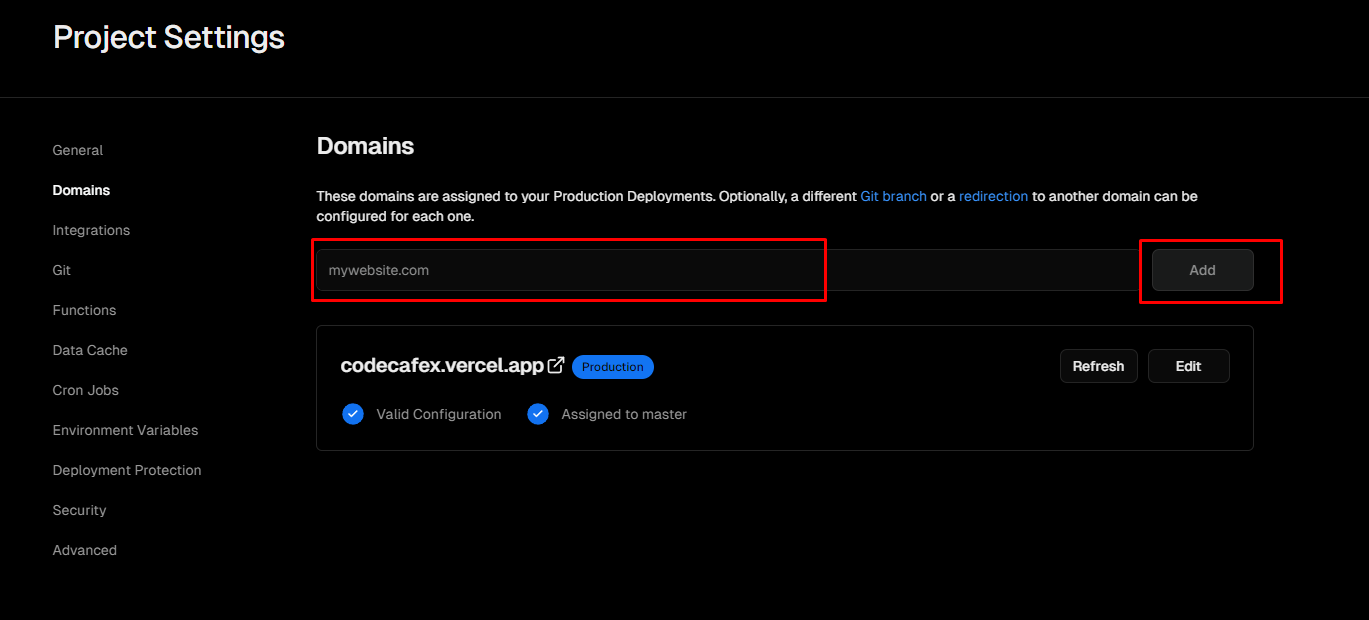
In this step you need to enter your domain as shown in below screenshot.
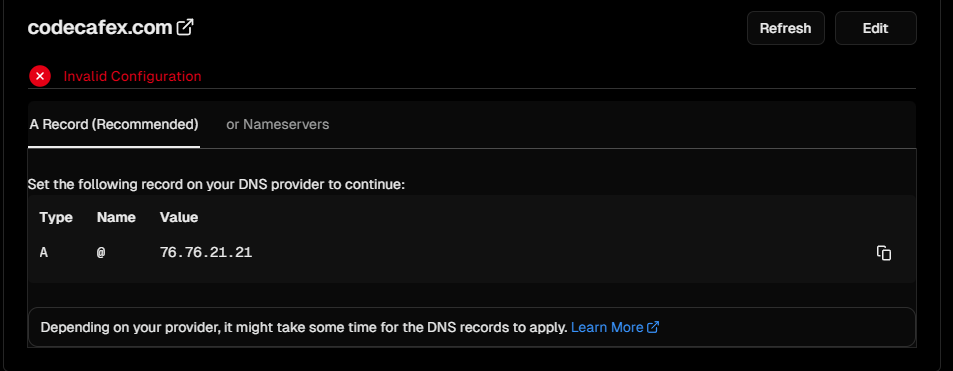
Once you added domain , you will see "invalid configuration" error message as mentioned in below screenshot.
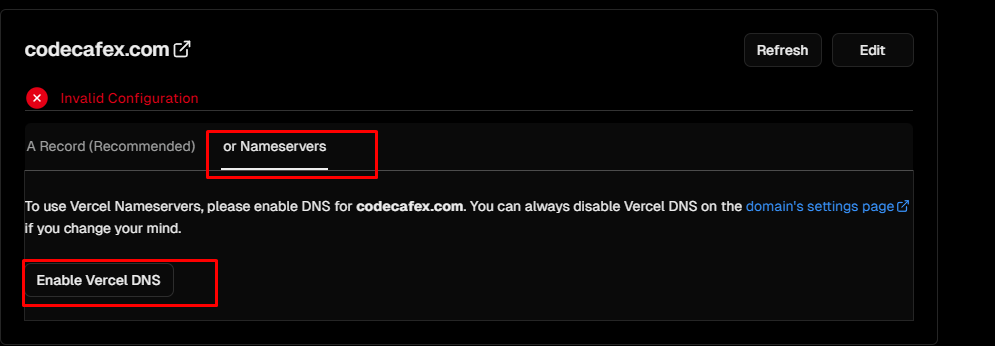
Now Please click the Nameservers tab. After open that tab you can see "Enable Vercel DNS" button. Then please click that button.
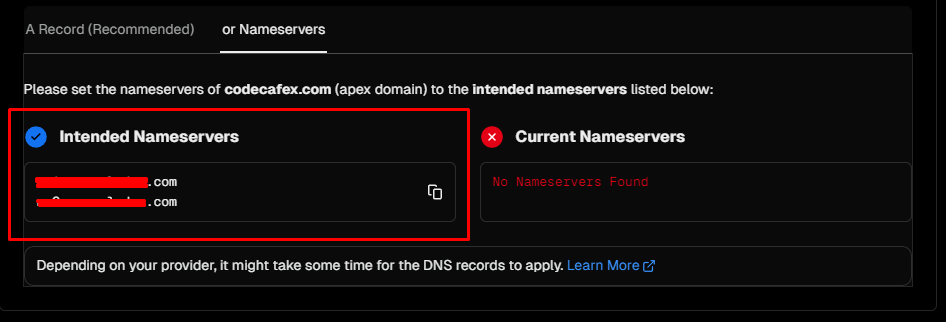
Now you can see the name servers display in the UI.Then please copy these names servers. These name servers need to add to our domain in namecheap.
After finishing the domain adding process to vercel, we need to setup name severs in namecheap domain to finish the setup.
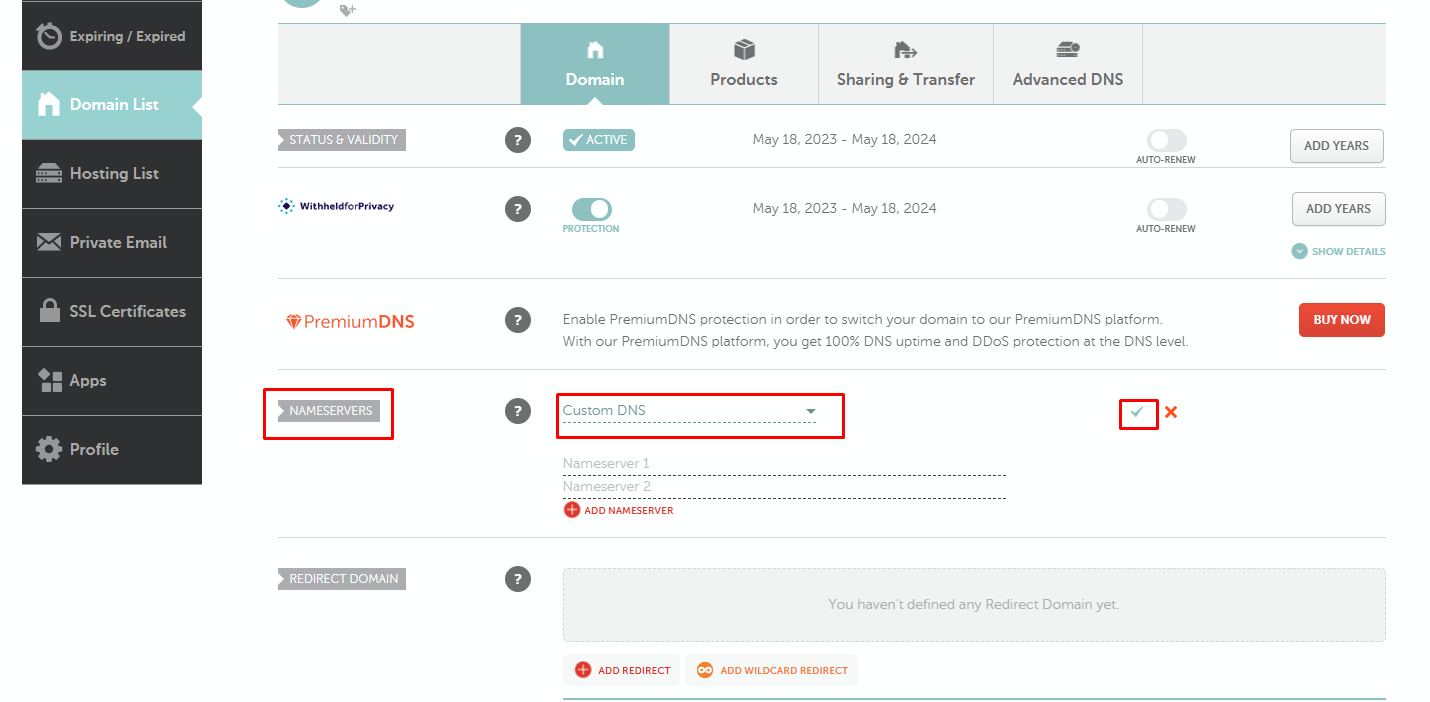
After logging into your Namecheap account, navigate to the Domain List in the sidebar. Choose the specific domain you wish to configure and then click on the "Manage" option.

Find the NAMESERVERS section, click the dropdown, and choose Custom DNS. This action will unveil a field where you can enter Vercel's Nameserver addresses. After adding the nameservers, click the green checkmark on the right, and you're all set!
© 2024 CodeCafeX ,Inc. All Rights Reserved


